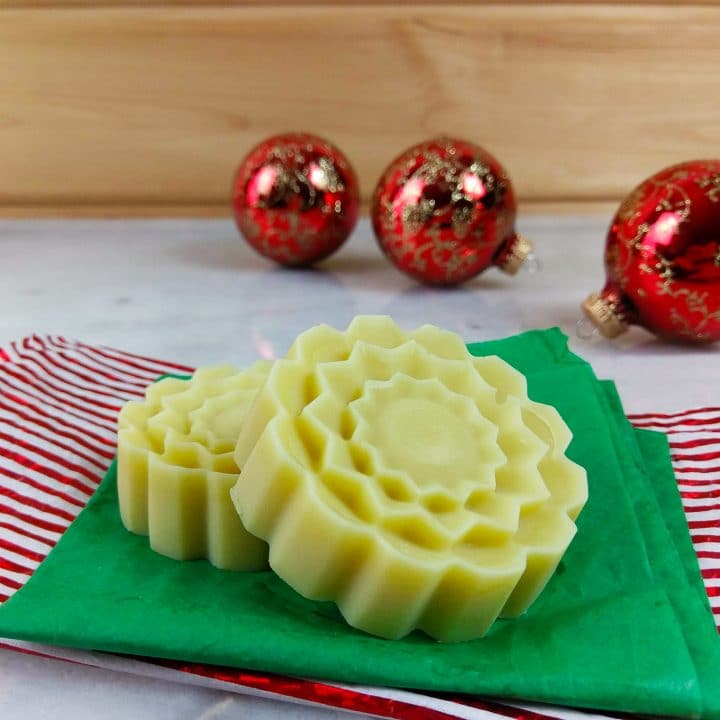
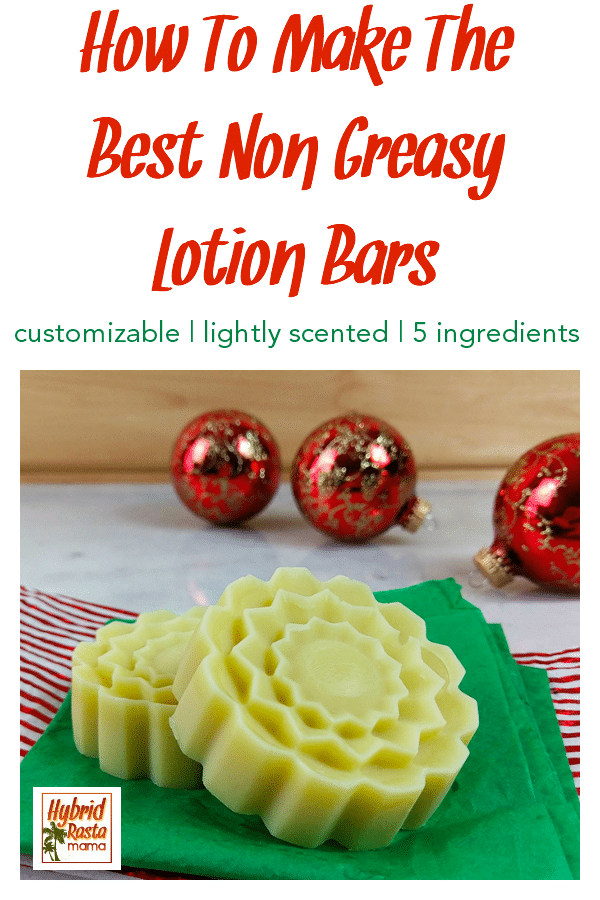
I like liquid lotion, hence recipes like this After Shave Lotion, but sometimes a hard lotion bar is what my skin needs. They’re compact, portable, and make great gifts. This easy DIY lotion bar recipe takes it a step further and nourishes itchy, dry winter skin with a Christmasy scent.
The Best Oils for Dry Skin
When summer hits, light and non-greasy lotion is a must. Winter weather can be a lot harsher on delicate skin. I wanted to use carrier oils in these DIY lotion bars that will sink deep into dry, winter skin to moisturize and nourish.
Oils high in monounsaturated fats are fabulous for dry skin. Olive, avocado, coconut, macadamia, almond, and camellia oils are some good examples. For those of us with super dry skin, oleic and saturated fatty acids fit the bill, like what you’ll find in papaya seed oil or shea.
Experimenting with lots of fancy carrier oils is always fun, but not everyone has all of those on hand. And it can get expensive to buy all the ingredients! Instead of going crazy with lots of high end carrier oils, I opted for the basics to keep this easy DIY lotion bar recipe simple, doable, yet still effective.
There are a lot of good options, but here’s what I chose and why. I’ve included ideas for substitutions if you don’t have a particular oil on hand.
Olive Oil for Skin
Olive oil works great in a salad dressing, but it’s equally as nourishing for skin. This oil is heavier and takes longer for skin to soak in, which makes it a great wintertime moisturizer. You’ll find high amounts of squalene in olive oil, which helps to lubricate skin, prevent moisture loss, and protect skin. Olive oil also has phytosterols to help attract moisture to skin and repair sun damage. This is the olive oil I use and love.
If you don’t have olive oil on hand, then avocado or sweet almond oil will work. Sweet almond oil is lighter than olive though and doesn’t have quite the same impact. You can find my favorite sweet almond oil here.
Avocado Oil For Skin
A thick, green tinted oil, avocado is another oil that’s deeply nourishing to skin. Avocado oil boasts a range of vitamin and amino acids and increases collagen in skin’s middle layer, the dermis. Not only does it strengthen skins cells to skin look young, but it helps maintain skin’s protective barrier.
Avocado oil is very thick, so I didn’t want to overload the recipe and use too much. It’s a fabulous one for skin though, so I didn’t want to leave it out. If you want to skip the avocado oil, then replace it with olive oil instead. A lighter avocado oil that I use is this one.
Why Use Shea Butter In This Easy DIY Lotion Bar Recipe
Shea butter offers skin protecting properties to help prevent sun damage, but it’s also great for dry, damaged skin. The compounds in shea butter help soften and protect against dry skin. During the winter months it can be hard to get circulation up, but shea butter can help.
Shea butter helps boost capillary circulation in skin to bring oxygen to tissues in the body and remove toxins. Be sure to use unrefined shea butter though, since many of these beneficial components are removed in the refined version! This shea butter is hands down the best.
If you don’t have shea butter, then mango or cocoa butter can be substituted. Mango is a dryer butter and cocoa butter will make for a harder lotion bar. This is my favorite mango butter and I like this cocoa butter a lot.
There are tons of yummy smelling, skin safe essential oils out there, but I wanted these bars to smell like the season. Some essential oils can irritate skin if they’re used above a certain percentage, so I’ve kept the recipes in that safe range. Here are a few different options and how to use them.
Essential Oils For These Easy DIY Lotion Bars
I have linked to the exact essential oils I use under each category.
Peppermint Essential Oil
This one makes the bars smell like a candy cane! It’s generally recommended to cap the peppermint in a skincare product to 5%, but even 1-2% is plenty strong enough. Peppermint invigorates, promotes clear breathing, supports digestion, and can help headaches.
Fir needle, Pine, or Douglas Fir
What could be more Christmasy than the smell of a Christmas tree? These blend well with orange and are used to help the body stay well. Pine and fir needle essential oils are great for the respiratory system and are also used to fight cold and flu symptoms and muscle pain, among other things.
Frankincense and Myrrh
The earthy tones from these essential oils ground the emotions. Myrrh helps combat chapped skin, while frankincense is good for stress, scars, and stretch marks. I like to combine these essential oils with a lighter smelling, more fruity oil, like juniper to help round out the scent.
How To Make The Christmas Scented Lotion Bar Recipe Happen
Here are a few essential oil blend ideas that you can use in this DIY lotion bar to give it a Christmasy twist.
- 1/4 teaspoon frankincense, 1/4 teaspoon myrrh, 1/4 teaspoon juniper berry essential oil
- 1 tsp fir needle and 1/2 teaspoon orange essential oil
- 1 tsp peppermint essential oil
If you prefer not to blend your own essential oils, there are a few different pre-blended options for you.
- Christmas Tree Holiday Blend (find it here)
- Christmas Candy Essential Oil Holiday Blend (find it here)
- Christmas Cookie Essential Oil Blend (find it here)
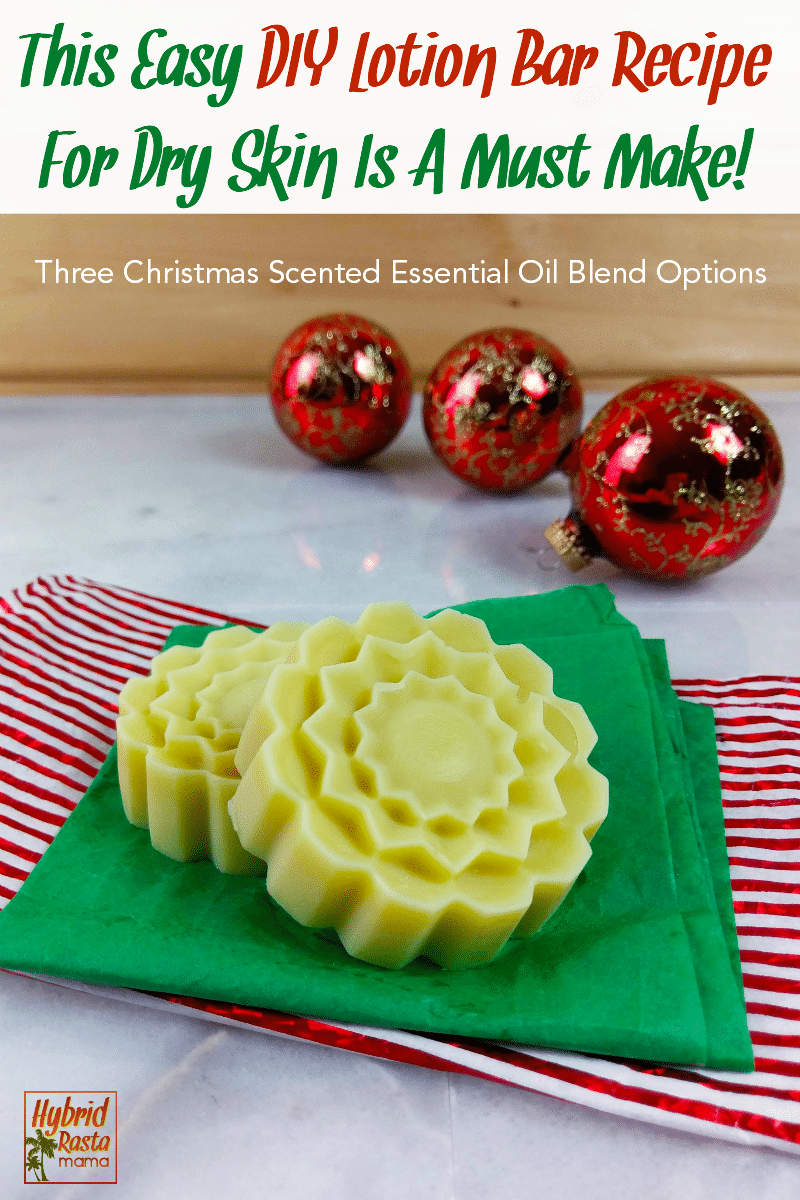
Here We Go! The Easy DIY Lotion Bar Recipe for Dry Skin.
Easy DIY Lotion Bar Recipe for Dry Skin
This easy DIY lotion bar recipe for dry skin has sveral options for a wonderful Christmas scent! Make these as gifts or keep them to yourself. Either way, they will nourish dry skin this winter.
Materials
- ½ cup shea butter
- ¼ cup olive oil
- 2 Tbsp avocado oil
- ½ cup beeswax, grated or pastilles
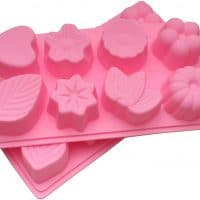
- Lotion bar or soap mold (you can also use a paper lined cupcake pan)
- 1 teaspoon essential oil of choice (see above for ideas)
Tools
- Saucepan
- Glass bowl
- Lotion bar mold
- Glass or metal storage container
Instructions
- Fill a saucepan half full of water and place over medium-high heat. Perch a heat-safe glass bowl on top of the saucepan to create a double boiler effect.
- Add all of the ingredients except the essential oils to the bowl. Stir occasionally until completely melted.
- Once the ingredients are melted, turn off the heat and stir in the essential oils.
- Pour the lotion bars into a mold and refrigerate until firm, then remove from the mold. (I use these boring molds but you can select something more fun like this one).
- Store the lotion bars away from direct light and heat. Metal tins work well for storage.
Recommended Products
Be sure to check out my other great DIY Skincare recipes.
References for the article include:

Lori says
Can I use coconut oil instead of beeswax? Really don’t like the way beeswax feels on my skin.
Jennifer says
The beeswax is what helps to hold this together. There are other waxes you can use. Would you be open to those are is wax just a no?